Style your Strut
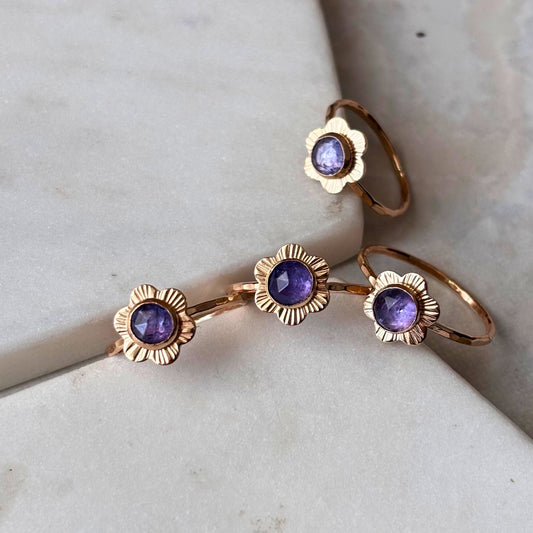
All about our newest gemstone; Tanzanite!
Tanzanite is a mesmerizing gemstone that Strut Jewelry owner & designer Alyssa has loved for years! It seems to capture...
All about our newest gemstone; Tanzanite!
Tanzanite is a mesmerizing gemstone that Strut Jewelry owner & designer Alyssa has loved for years! It seems to capture...
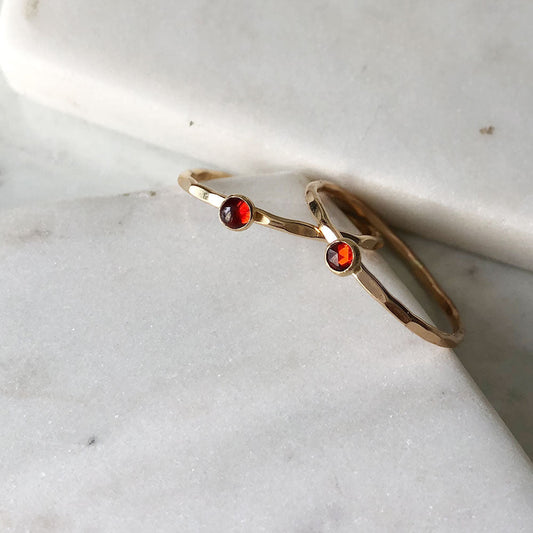
Gorgeous Garnet
Have you ever wondered about the story behind the mesmerizing crimson gemstone known as garnet? Well you're in luck because
Gorgeous Garnet
Have you ever wondered about the story behind the mesmerizing crimson gemstone known as garnet? Well you're in luck because

Inspiration from the oldest city in the Americas
I recently returned from a wonderful break in Mexico City, a much-needed adventure filled with vibrant colours, ancient history, and of course, delicious tacos! I didn't just bring back souvenirs; I brought back...
Inspiration from the oldest city in the Americas
I recently returned from a wonderful break in Mexico City, a much-needed adventure filled with vibrant colours, ancient history, and of course, delicious tacos! I didn't just bring back souvenirs; I brought back...
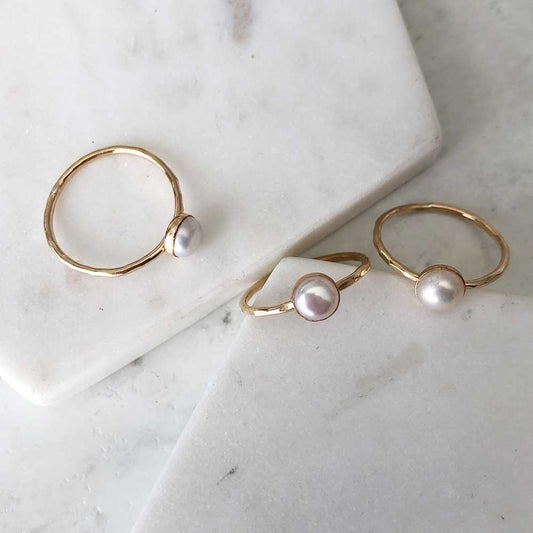
Polished Pearls
When you think of pearl jewelry, what comes to mind? Maybe images of fancy ladies from a bygone era, sipping tea with...
Polished Pearls
When you think of pearl jewelry, what comes to mind? Maybe images of fancy ladies from a bygone era, sipping tea with...
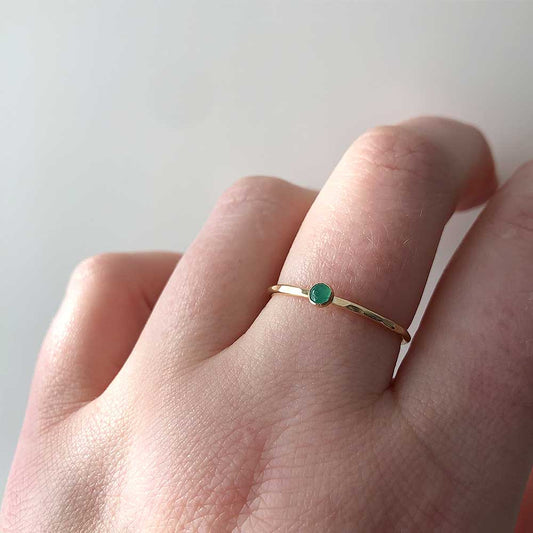
Enchanting Emerald - The ancient birthstone for...
Emerald, the stunning green gemstone, has been revered for centuries as the birthstone for the month of May. Its rich history and...
Enchanting Emerald - The ancient birthstone for...
Emerald, the stunning green gemstone, has been revered for centuries as the birthstone for the month of May. Its rich history and...
Top 5 summer jewelry picks
Are you ready to elevate your summer style? Look no further than these top 5 easy-breezy picks that will take your outfits to...
Top 5 summer jewelry picks
Are you ready to elevate your summer style? Look no further than these top 5 easy-breezy picks that will take your outfits to...